Web workflow
This page presents a use case for using Codemagic to export a Godot project for the Web. We will not cover the syntax, structure, or functionality of a codemagic.yaml file.
- You can skip the tutorial and grab the yaml files in Overview
- To learn how
codemagic.yamlfiles work, see Creating codemagic.yaml. - To better understand what we'll do here, take a look at Workflow Configuration if its not already done.
- To learn how to configure your Godot project and repository, see Process Overview.

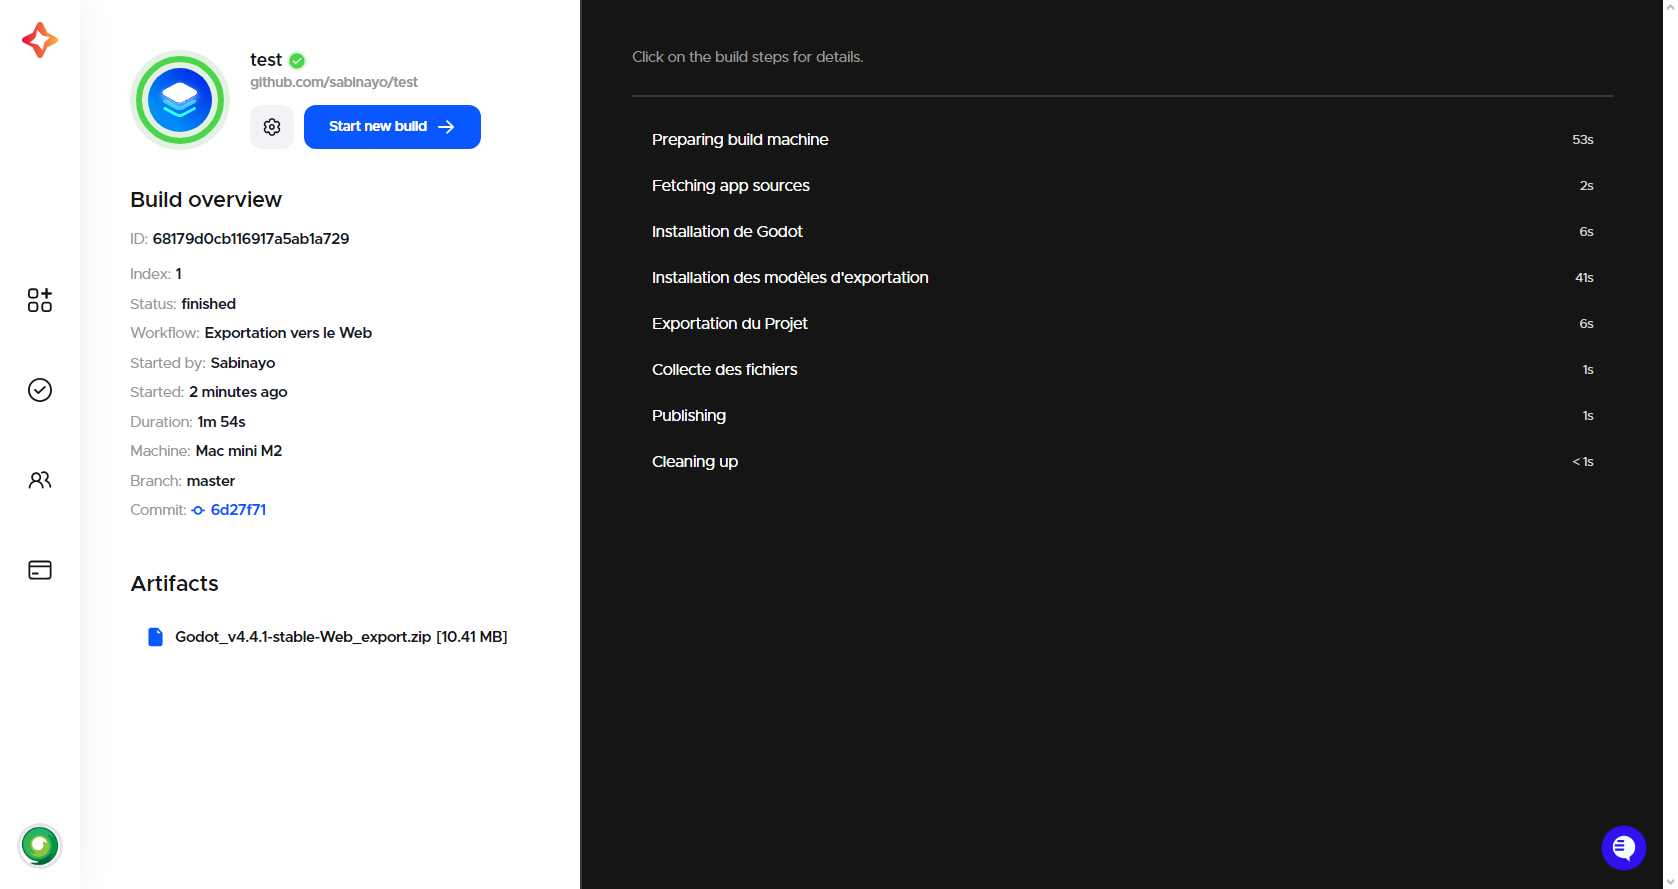
Image by Codemagic, used under CC BY-ND 4.0 license. See gallery
Requirements
- A text editor
- Workflow Configuration file. (See Workflow Configuration)
As explained in Project Configuration, you should configure your project for export as if you were exporting it on your local machine.
- Learn more about how to export a Godot project to Android with Exporting for Web.
Configuration
We need to create a new workflow in which we will define its own specific variables. Add the following code to your codemagic.yaml file, right after the definitions section:
workflows:
  godot-web-workflow:
    name: Web Export
    max_build_duration: 120
    instance_type: mac_mini_m2
    working_directory: /Users/builder/Downloads

    environment:
      vars:
        <<: *godot_variables
        OUTPUT_FILE: index.html
        EXPORT_PRESET: Web
Then make sure your file now looks like this:
definitions: ...

workflows:
  godot-web-workflow: ...
Do you remember the Workflow Configuration file ?
We use the << and * operators to reuses its sections.
- Learn more about reusable sections in a
codemagic.yamlfile with Reusing sections - For more details on the reused variables, see Minimal Configuration
Here a description of variables we defined:
| Variable | Description |
|---|---|
| OUTPUT_FILE | The name of the exported file. Format: <PROJECT_NAME>.<EXTENSION>. The output file extension should match the one used by the Godot export process. See Exporting from the command line |
| EXPORT_PRESET | The name of the export preset that will be used to export your project. |
- To learn more about environment variables in a
codemagic.yamlfile see Configuring Environment Variables
Export project
Now we need to add script automation to export your Godot project. A simple Web export does not require any changes to the Godot Editor settings file. The process is straightforward. We will simply reuse the script sections of the Workflow Configuration file.
- Learn more about reusable sections in a
codemagic.yamlfile with Reusing sections - For more details on the reused scripts, see Minimal Configuration
Add the following code to your godot-web-workflow:
scripts:
  - *install_godot
  - *install_godot_export_templates
  - *export_project
  - *gather_files

artifacts:
  - *zipped_export
Then, make sure your workflow now looks like this:
workflows:
  godot-web-workflow:
    ...
    environment: ...
    scripts: ...
    artifacts: ...
And it's done! All we need to do is to export the project. To do this, you can use Codemagic's interface, or events affecting your repository such as push.
- See Build Automatically to automate the execution of your Codemagic configuration.
- See also Build Notifications to get a notification informing you of the result of your build.
Overview
Summary of what we've covered on this page:
- Exported a Godot project to Web using a Codemagic build machine.
| File | Content | Tutorial |
|---|---|---|
| Download | Godot Web Export Configuration | Jump to tutorial |
Caution!!!
To use this script effectively, refer to its tutorial.
The scripts in this tutorial series are generalized and will fit most use cases. However, specific adjustments for your project may still be necessary.
Optional resources to help refine your configuration:
Getting help and support
If you have a technical question or need help with some particular issue, you can get help in the GitHub Discussions community.